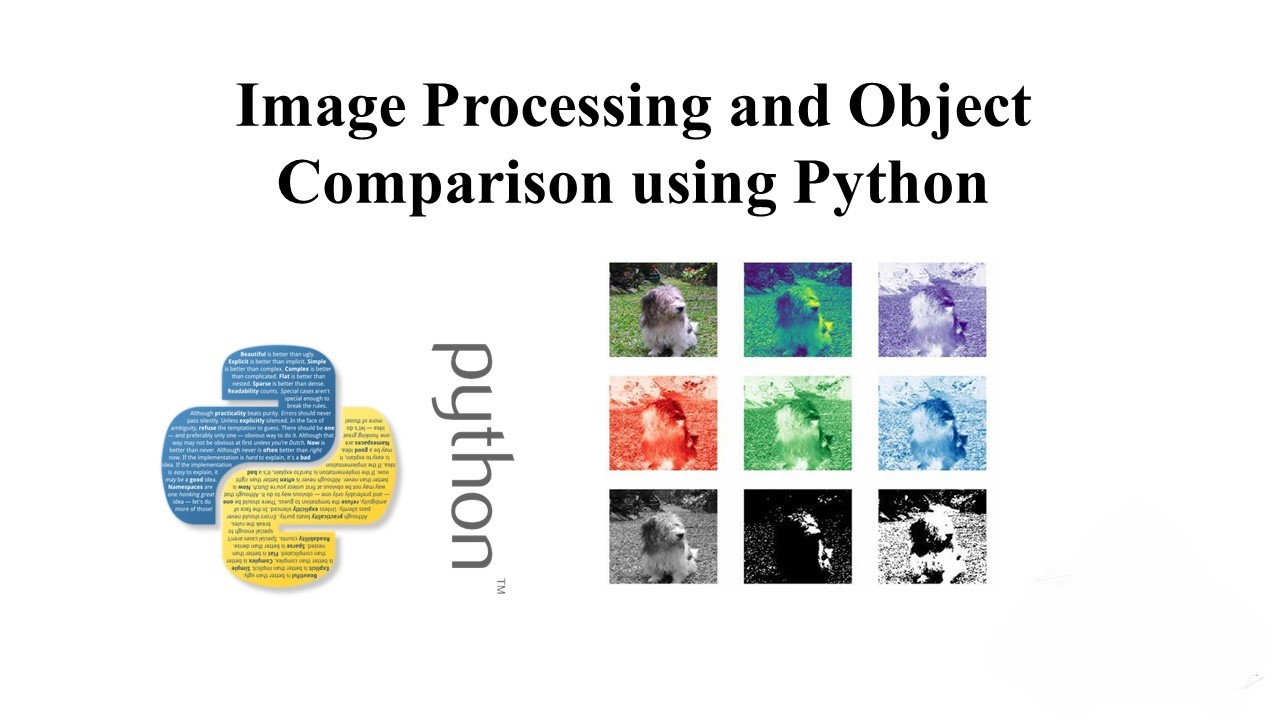
Introduction:
Image processing is a crucial aspect of computer vision and machine learning applications. In this tutorial, we’ll explore basic image manipulation techniques using Python libraries like PIL (Pillow), NumPy, and matplotlib. Additionally, we’ll delve into object comparison and similarity measurement.
Setting Up the Environment:
Before we start, ensure you have the required libraries installed. If you’re using Google Colab, the code provided assumes you have mounted your Google Drive. Make sure to replace file paths accordingly if you are running this locally.
from matplotlib import pyplot as plt
import numpy as np
from PIL import Image
from scipy import spatial
from google.colab import drive
drive.mount('/content/drive')
root = '/content/drive/My Drive/Colab Notebooks/'
inloc = root + "Module11-CV/img_processing/images/"
outloc = root + "Module11-CV/img_processing/output/"
Basic Image Manipulation:
Let’s start by loading an image, inspecting its pixel values, and performing simple manipulations. In this example, we replace a horizontal line in the middle of the image with a black line.
im = Image.open(inloc + "apple1.jpg")
plt.imshow(im)

im_array = np.array(im)
fb = np.array([0, 0, 0])

for row in range(750, 760):
    replace_array = np.array([fb for pxl in range(len(im_array[row]))])
    im_array[row] = replace_array

img1 = Image.fromarray(im_array)
plt.imshow(img1)
img1.save(outloc + "hline.jpg")
Color Manipulation and Rotation:
Next, we manipulate colors in the image and demonstrate rotation.
def img_manipulate(im_array):
    new_array = []
    for r in range(len(im_array)):
        replace_array = []
        for c in range(len(array2[r])):
            red = im_array[r][c][0]
            grn = im_array[r][c][1]
            blu = im_array[r][c][2]
            if max(red, grn, blu) == red and [red, grn, blu] != [255, 255, 255]:
                replace_array.append(np.array([grn, red, blu]))
            else:
                replace_array.append(np.array([red, grn, blu]))
        new_array.append(np.array(replace_array))
    new_array = np.array(new_array)
    return new_array

im = Image.open(inloc + "apple1.jpg")
array2 = np.array(im)
manipulated_array = img_manipulate(array2)
img2 = Image.fromarray(manipulated_array)
plt.imshow(img2)
Image Rotation:
Rotate the image and save the result.
im = Image.open(inloc + "apple1.jpg")
imr = im.rotate(45)
plt.imshow(imr)
imr.save(outloc + "rotate.jpg")
Smart Cropping:
Crop the image by removing white borders intelligently.
def smart_crop(gsimg, s, e, d, ax):
    nw = 0
    for i in range(s, e, d):
        if ax == 0:
            row = gsimg[i]
        else:
            row = gsimg[:, i]
        if len(row[row < 240]) > 0:
            nw = i
            break
    return nw

im_gs = im.convert('L')
array3 = np.array(im_gs)
t = smart_crop(array3, 0, len(array3), 1, 0)
b = smart_crop(array3, len(array3), 0, -1, 0)
l = smart_crop(array3, 0, len(array3), 1, 1)
r = smart_crop(array3, len(array3[0]), 0, -1, 1)
array3 = array3[t:b, l:r]
img3 = Image.fromarray(array3)
plt.imshow(img3)
img3.save(outloc + "half.jpg")
Conclusion:
In this part of the tutorial, we covered basic image manipulation techniques, color manipulation, rotation, and smart cropping. In the next section, we’ll explore image comparison and similarity measurement using Python.
Leave a Reply